Introduction to programmable input/output PIO with Raspberry Pi Pico. Example code included.
Letting your processor subcontract to its onboard PIO.
Many makers today are using their processors incorrectly when it comes to stepper motors. Stepper motors require PWM signals which requires a series of high and low signals with delays in-between. This process can halt your processor from completing other necessary tasks like signal processing or decision making for robots.
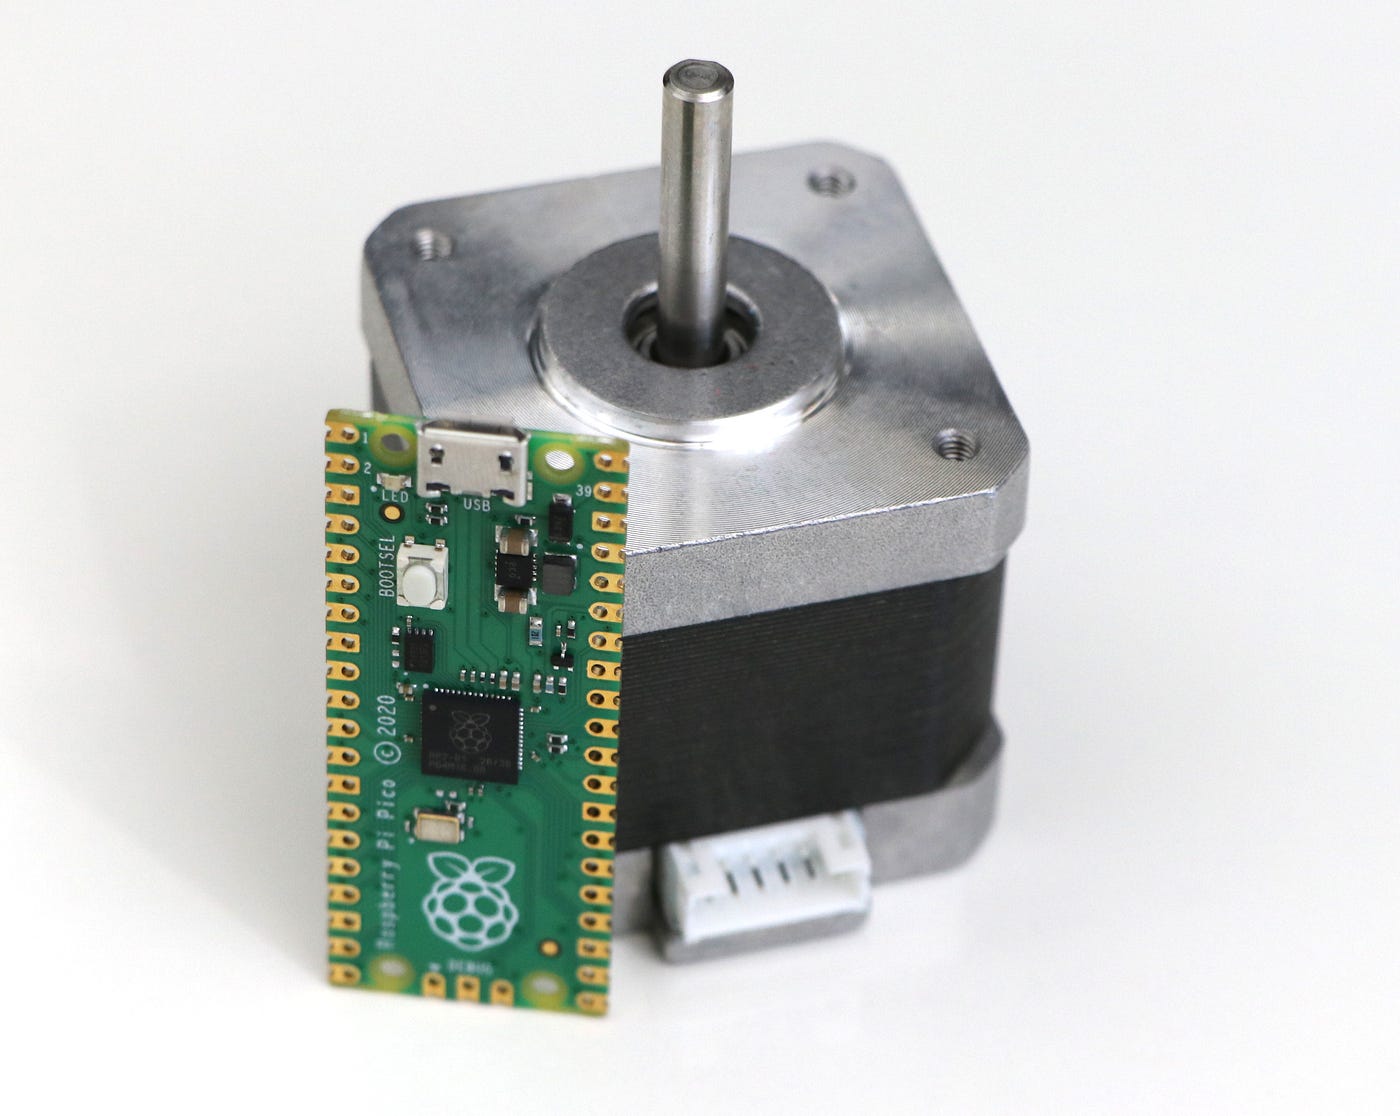
In this tutorial you are going to learn how to sub contract the control of your stepper motor to its onboard programmable input/output (PIO). You will be using a raspberry PI Pico that is running MicroPython, A4988 motor controller, and Nema 23 stepper motor. Now lets get to our wiring diagram.
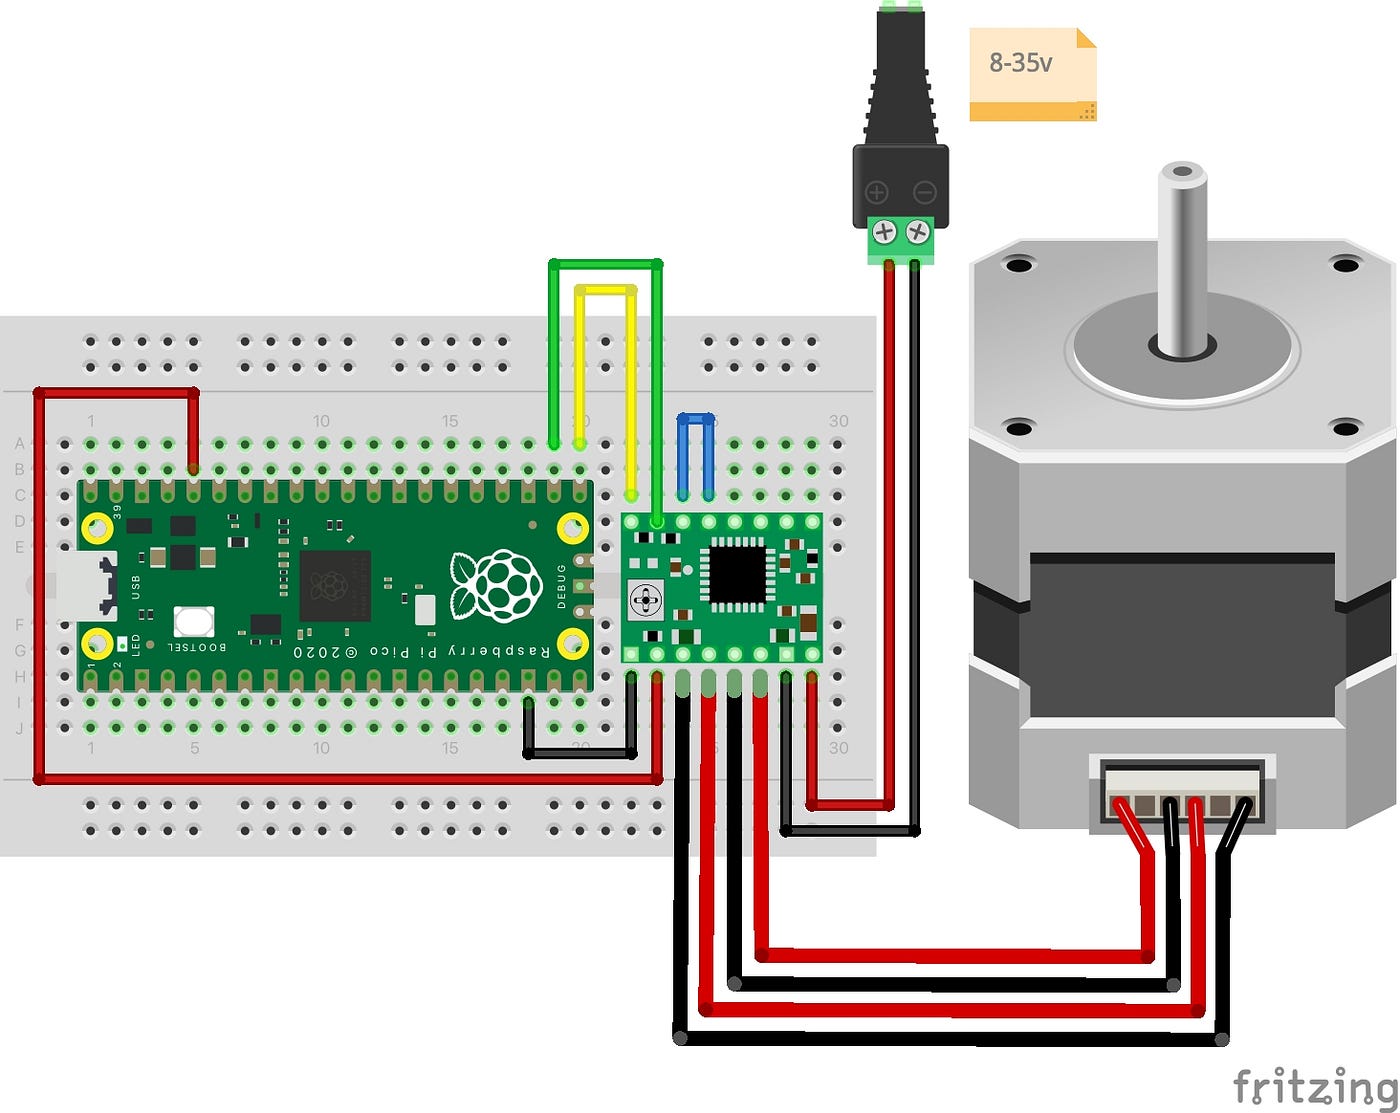
Once you have everything wired you can move on to the code necessary to get it working. For this tutorial you are going to be using MicroPython since it makes programming the PIO very easy and intuitive.
Most of the code is commented but the section I want to go over is the move function itself. This function appears to be written in python but is really just python on top of PIO instructions. I’ve included a great video at the end of the paper that explains how each function work and the full video. However, I have also broken down each function below to help you understand its functionality.
Function list:
set() — Setting the pin which is written in binary and set at the state machine.
nop() —Empty function that in our case is used for adding delay between energizing the different coils.
Wrap_target/wrap() — This allows the program to loop the program infinitely.
Freq — Frequency is how fast the program shall “wrap” or better known as loop.
While this is only a introductory tutorial to the topic of programming PIO, hopefully this will get you started. To learn more about PIO please check out the YouTube video I have linked. Stacksmashing does a great job at explain everything in greater detail.
Items used in the tutorial:
A4988 Stepper Motor Controller
Nema 23 Stepper Motor — But any motor will work that the A4988 supports.
Useful links:
A4988 wiring instructions diagram.
In-depth: Raspberry Pi Pico’s PIO — programmable I/O!
If you want to be updated on my research and other activities, you can follow me on Youtube, Github and even TikTok doing some fun projects.
Thank you for reading,
Daniel Wilczak